Before you get started, please send your instructor an email with the URL to your site, which will be [yoururl].opened.ca. This step is critical as your work will be completed on your blog and I need to know where to find you.
First tasks you should explore with your new blog:
- Go into its admin panel by adding /wp-admin at the end of your blog’s URL.
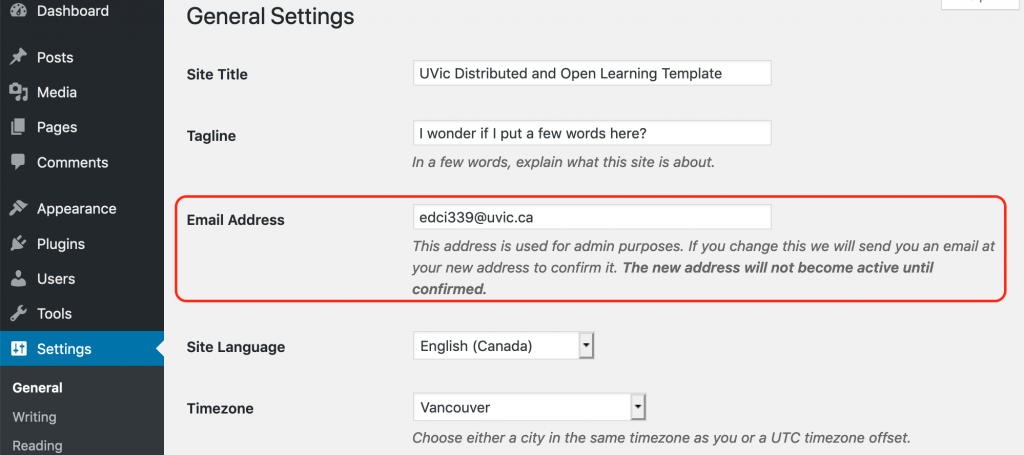
- Tap “Settings” and change the email address to your email address, then make sure you check your email and confirm the change.
- Add new categories or tags to organize your blog posts – found under “Posts” (but do not remove the pre-existing “edtechuvic” or “Distributed & Open” categories)
- See if your blog posts are appearing on the course website (you must have the course categories assigned to a post first and have provided your instructor with your blog URL)
- It can take an hour or so for your posts to appear on the course site.
- Add an “About Me” or a page welcoming visitors to your site.
- Embed images or set featured images and embed video in blog posts and pages (can be your own media or that found on the internet, but consider free or creative commons licensed works, like found at unsplash.com or pexels.com)
- Under Appearance:
- Select your preferred website theme and customize to your preferences (New title, etc.)
- Customize menus & navigation
- Use widgets to customize blog content and features
- Delete this starter post and the test posts.